Roll of 500 pieces
Maps for reconstruction
Nail reconstruction with paper is used to stretch the nail and during this process the beautician or onychotechnician will give the right shape and size to your nails using usually a monophasic gel or acrylic.
The papers are placed in the lower part of the nail, where the gel will then be put to give greater length to the latter. The gel hardens as a result of the polymerization of the UV lamps and the paper is removed so that the nail can be further refined with the desired shape and any enamels or decorations can be applied.
How do you do nail reconstruction with the map?
First you need to get the material indicated below. You can buy the products you need separately, or rely on a nail reconstruction kit that contains everything you need.
Before seeing how to proceed, remember that this treatment lasts from four to five weeks, but obviously much depends on the stress to which the nails are subjected: heavy and manual work or use of chemicals tend to shorten its duration.
Necessary:
Cleaner
Gel for highly viscous monophasic or three-phase system
Cuticle oil
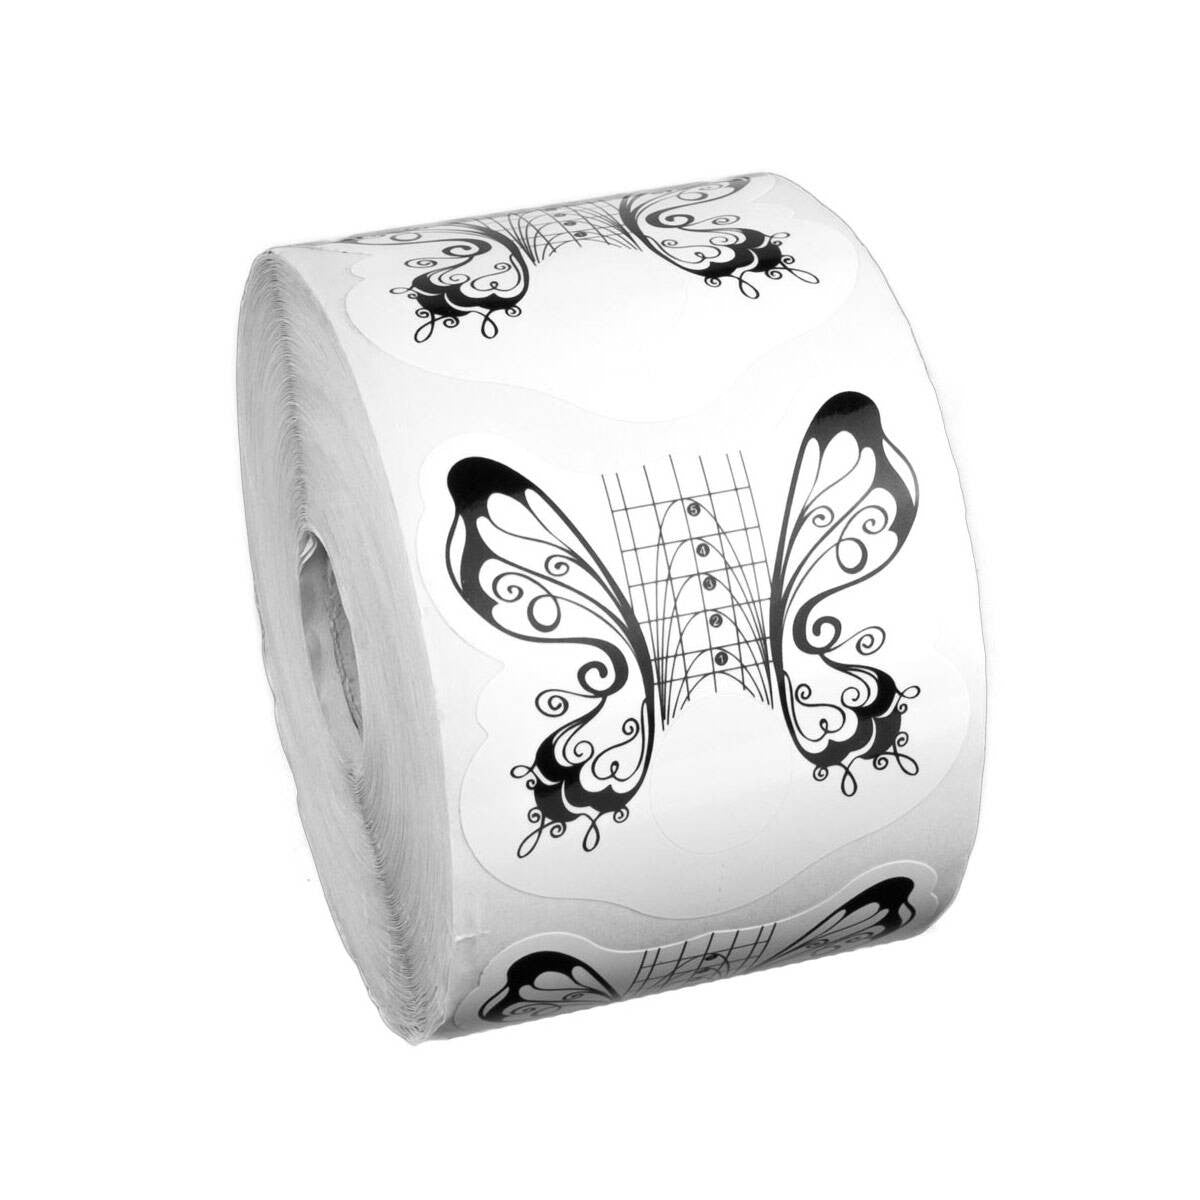
Graph papers
Lime
Enamels and necessary for decorations
UV lamp
PRIMER
Procedure:
Disinfect and clean your hands. The nails must not bear traces of any type of polish and must be perfectly cleaned before proceeding.
At this point we can pass the file or the buffer. This step serves to make the nail rougher and allow greater adherence during the reconstruction phase.
Take a first step with the primer
Apply the map under the nail that must adhere perfectly, as a sort of extension of the same, so no space between nail and map.
Apply a layer of the building gel over the nail and above the paper, up to the length you want. In the monophasic method only one product is used, while in the three-phase a gel base is spread before the building gel. Let it dry in the lamp.
Repeat the same process for all fingers
Take another step with the primer
Evaporate the nails in the oven with UV lamps.
Apply now the manufacturer or monophasic going to process to polymerize and dry
Remove the map and apply the gel to shape the nail and give it a round
Spread a thin layer of colored gel or polish semi-permanent
Polymerize for about two minutes or as indicated on the gel used, degrease and apply a layer of UV gel on the nail elongation; also in this case, let it polymerize for another two minutes.
At this point we can proceed to file and finish our nails giving the desired shape and length to each.
Here are also some tips to get a nail reconstruction with perfect papers:
1 act precisely and pay attention to every step
2 do not make reconstructions and do not use gel on nails that have mycosis or flaking
3 avoid holding the reconstruction for too long, take a break between one reconstruction and another
 Store Locator